How can one tell sea stories without some pictures? This guide shows you how to add pictures in blog articles, pages and any content using the content editor.
Insert an image in the text
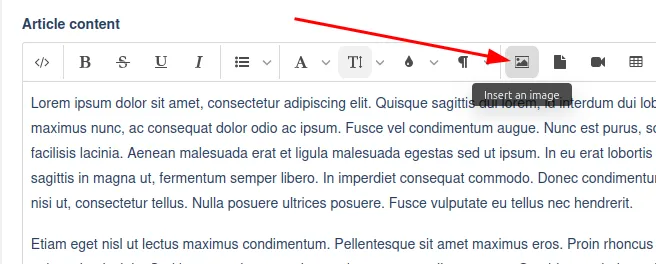
Before anything else, position the cursor in the text where you want to insert the image.
Then, in the editor toolbar, click on the icon  to open the File Explorer.
The File Explorer opens and displays all your uploaded files.
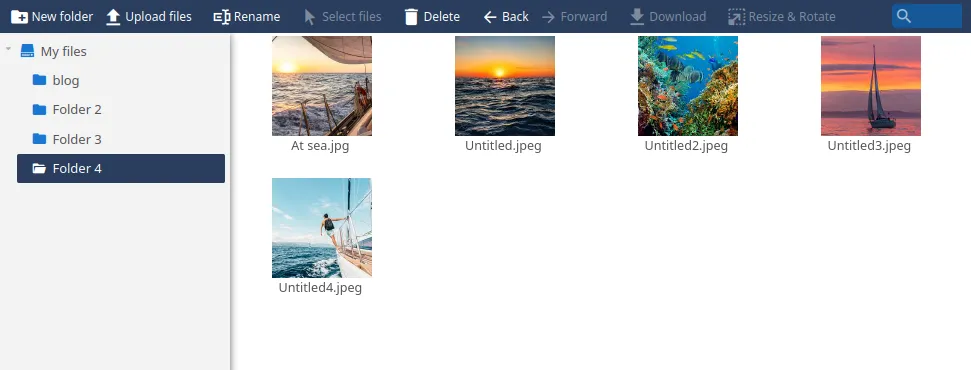
If the image is not already uploaded in your files, you have to transfert it from your device. In the File Explorer top toolbar, click on Upload files. Then select the picture on your device and wait for the transfer to complete. For more information about the File Explorer, check this guide.
From the File Explorer select the image you want to insert in the content and click Add selected files . You can also select multiple files to add more than one image in the content.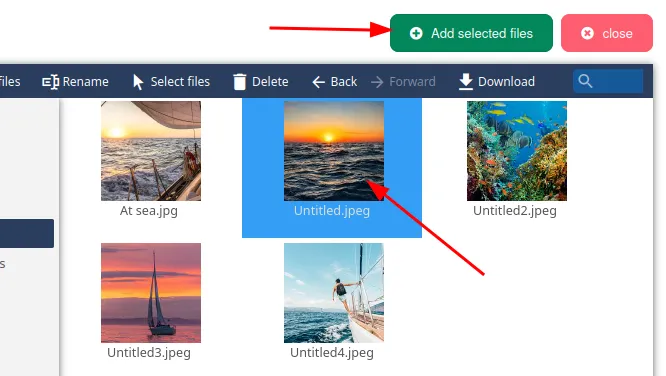
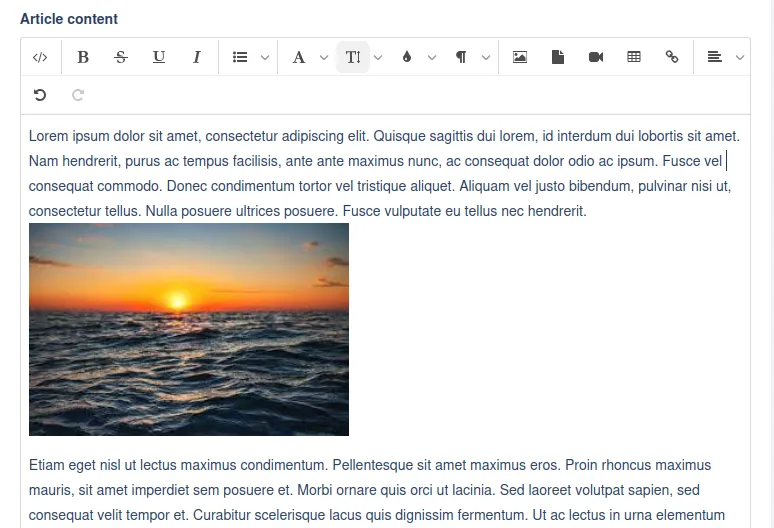
Your image is now inserted in the text.
How to arrange an image in the text?
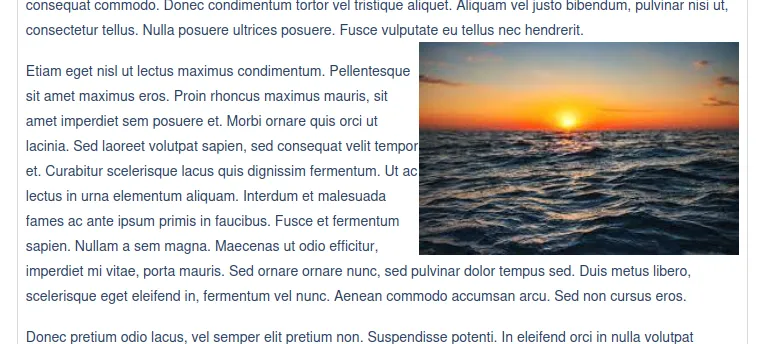
In the example above, we can see that the image isn't displayed nicely in the text. For a better display, we will align the image.
Select the image and just below click on the alignment icon  and then click on Right
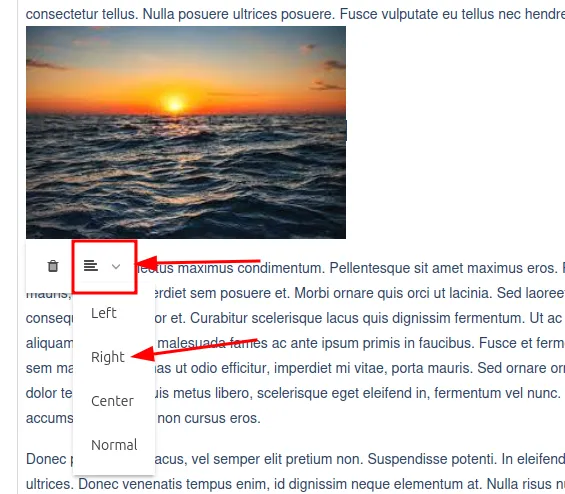
This pulls the image to the right and the text fills the freed space. You can also try different alignments (Left, center) to add some rhythm to your story.
Advanced image settings
For more control over your images, you cant use the toolbox which appear on the right of the editor each time an image is selecte.
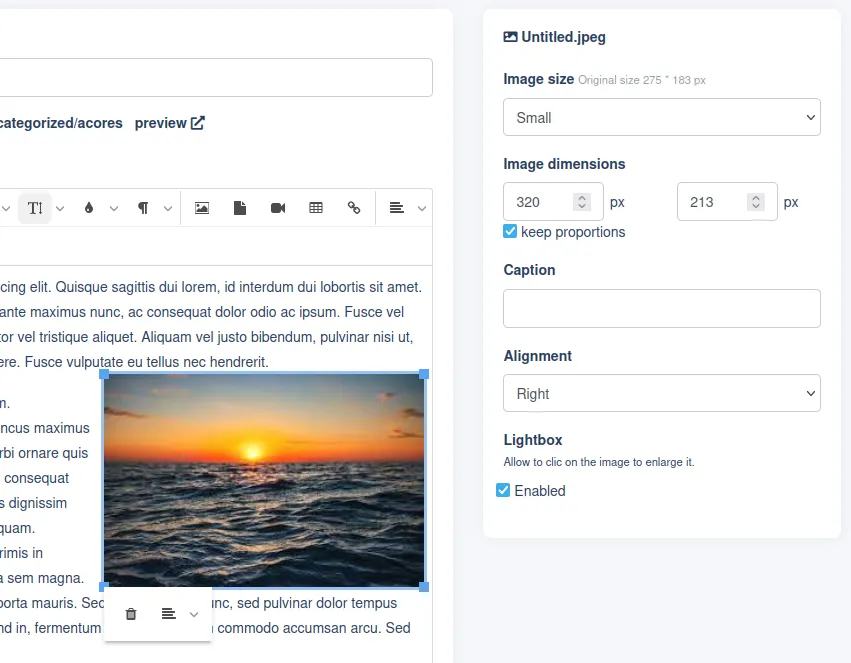
You can easily resize your image in the text by selecting one of the Image size or setting an Image dimensions. These two options only change the image thumbnail displayed in the text. Your original image stays the same and is displayed when clicking on the thumbnail (only on your website frontend).
You can add a Caption which will be displayed below your image.
Finally, the Alignment option has the same function as the alignment menu explained in the previous section.