Before you can use the map and tracking, you must go through an initialization step. This procedure will create the default tracking trace with its starting point. This process will only need to be performed once.
You can either start with :
- An empty trace : You only locate the starting position of your trip
- Upload a GPX trace file: Already have a GPS track you want to continue
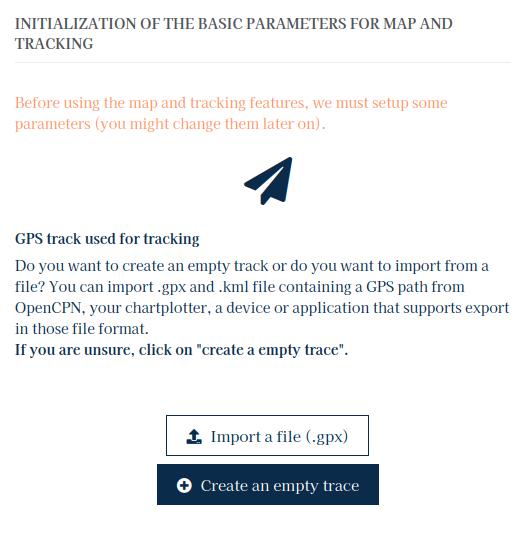
Start with an empty trace
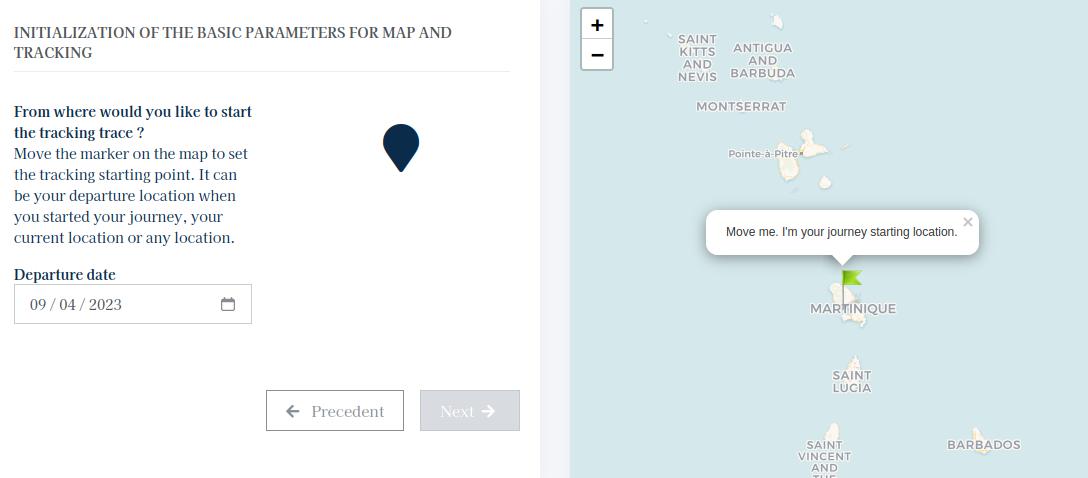
Click on Create an empty trace . The second step asks you to locate the starting point of your trip or your current location on the map. This will be the starting point of your tracking track. Move the marker on the map by holding the click on it to the desired position. Once the starting position is established, click Next.
In the third step you have the option to choose the base map. This personalization step is optional as a default base map is offered. You can change this base map at any time in the settings of the map map on DashboardNavigation Map (https://www.skipperblogs.com/dashboard/map-editor).

Finally click Complete the setup to save your choices and load the map.
Import a GPX file
If you already have a GPS track that you want to continue, you can upload a GPX file. This file can come from another online service, your onboard chartplotter/ GPS, navigation software (OpenCPN, MaxSea, TimeZero, ...).
Click Import a file and select the file on your device that you want to import. The system then loads your trace on the map without importing it permanently. This allows you to check the trace that will be imported.

In the third step you have the option to choose the base map. This personalization step is optional as a default base map is offered. You can change this base map at any time in the settings of the map on DashboardNavigation Map (https://www.skipperblogs.com/dashboard/map-editor).
Finally click Complete the setup to save your choices and load the map.